
I absolutely adore festive treats, and nothing gets me quite as excited as this Melted Snowman Brownies Recipe. It’s the perfect blend of rich, fudgy brownies topped with whimsical, melting snowman marshmallow decorations that bring a smile to everyone’s face. Every bite is a delightful mix of chocolatey decadence and playful holiday cheer, and I love sharing this recipe with friends and family who appreciate a sweet treat that’s as fun to make as it is to eat!
Why You'll Love This Melted Snowman Brownies Recipe
What truly makes this Melted Snowman Brownies Recipe stand out to me is the combination of flavors and textures. The brownies themselves have that irresistible fudgy, chewy texture I crave, perfectly balanced with rich cocoa flavor that’s not too bitter or too sweet. Then, topping each brownie with a marshmallow decorated as a melting snowman adds a playful and nostalgic touch that brightens up the whole dessert experience. I find that the slightly crispy edges of the brownie paired with the soft, creamy marshmallow create an irresistible contrast every single time.
On top of that, I really appreciate how straightforward this recipe is to prepare. Even if you aren’t an experienced baker, the steps flow naturally, and the ingredients are simple but deliver fantastic results. It’s a wonderful recipe for holidays, winter parties, or any time when you want to wow guests without spending all day in the kitchen. Plus, it brings a bit of magic to any occasion thanks to those adorable “melted snowman” faces that you can easily customize to your liking.
Ingredients You'll Need
The ingredient list for this Melted Snowman Brownies Recipe is refreshingly simple, each component playing an essential role in building the perfect fudgy base or the charming snowman decoration. From the cocoa powder delivering deep chocolate flavor, to the confectioners’ sugar that turns into thick, glossy royal icing, every ingredient impacts the final taste, texture, and presentation.
- Melted butter: This adds richness and keeps the brownies moist and tender.
- Sugar: Provides sweetness and helps create that wonderful chewy texture.
- Vanilla extract: Brings depth and warmth to the chocolate flavor.
- Eggs: Essential for structure and that fudgy consistency I love.
- Unsweetened cocoa powder: Gives the brownies their signature chocolate intensity.
- All-purpose flour: Just enough to hold everything together without making it cakey.
- Egg white: Used in the royal icing to create a stable, glossy finish perfect for decorating.
- Confectioners' sugar (powdered sugar): Creates the sweet, smooth base for the royal icing.
- Lemon juice: Adds a little brightness and acidity to balance the sweetness of the icing.
- Marshmallows: For those adorably fun “melted snowman” toppers that make this recipe truly festive.
- Black and orange decorating gel: Perfect for drawing the snowman’s face and carrot nose, bringing personality to each brownie.
Directions
Step 1: Preheat your oven to 350°F (175°C). Lightly grease an 8x8-inch square baking pan with spray oil or butter, or line it with baking parchment to make removing the brownies easier later.
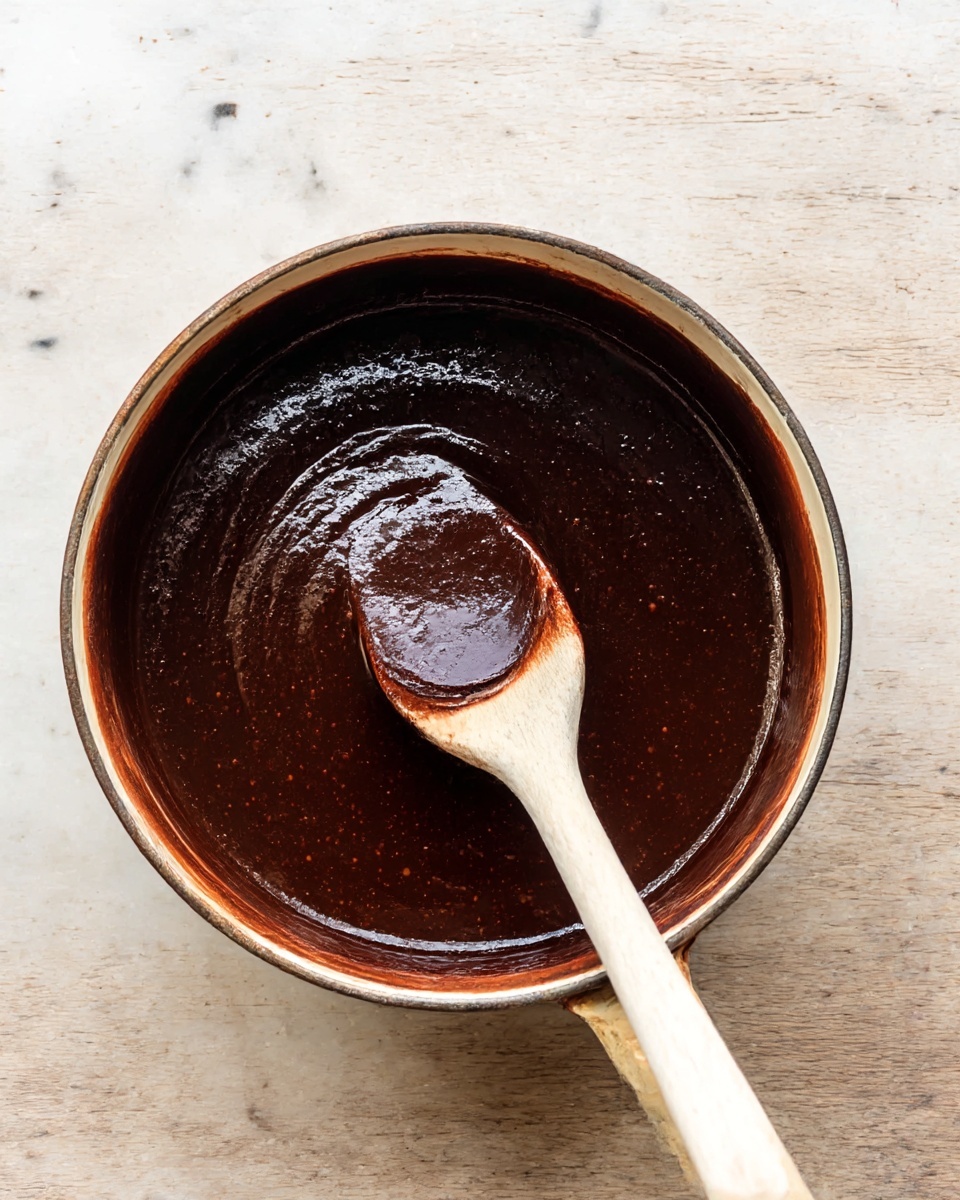
Step 2: In a medium bowl, whisk together the melted butter, sugar, and vanilla extract until everything is combined and smooth. This mix forms the luscious base of your brownies.
Step 3: Add the eggs, one at a time, whisking well after each addition. This helps the batter emulsify so the brownies bake evenly and maintain a great texture.
Step 4: Sift in the cocoa powder and flour, then gently fold them into the wet ingredients with a spatula or spoon. Take care not to overmix; you just want to combine everything until there are no visible streaks of flour.
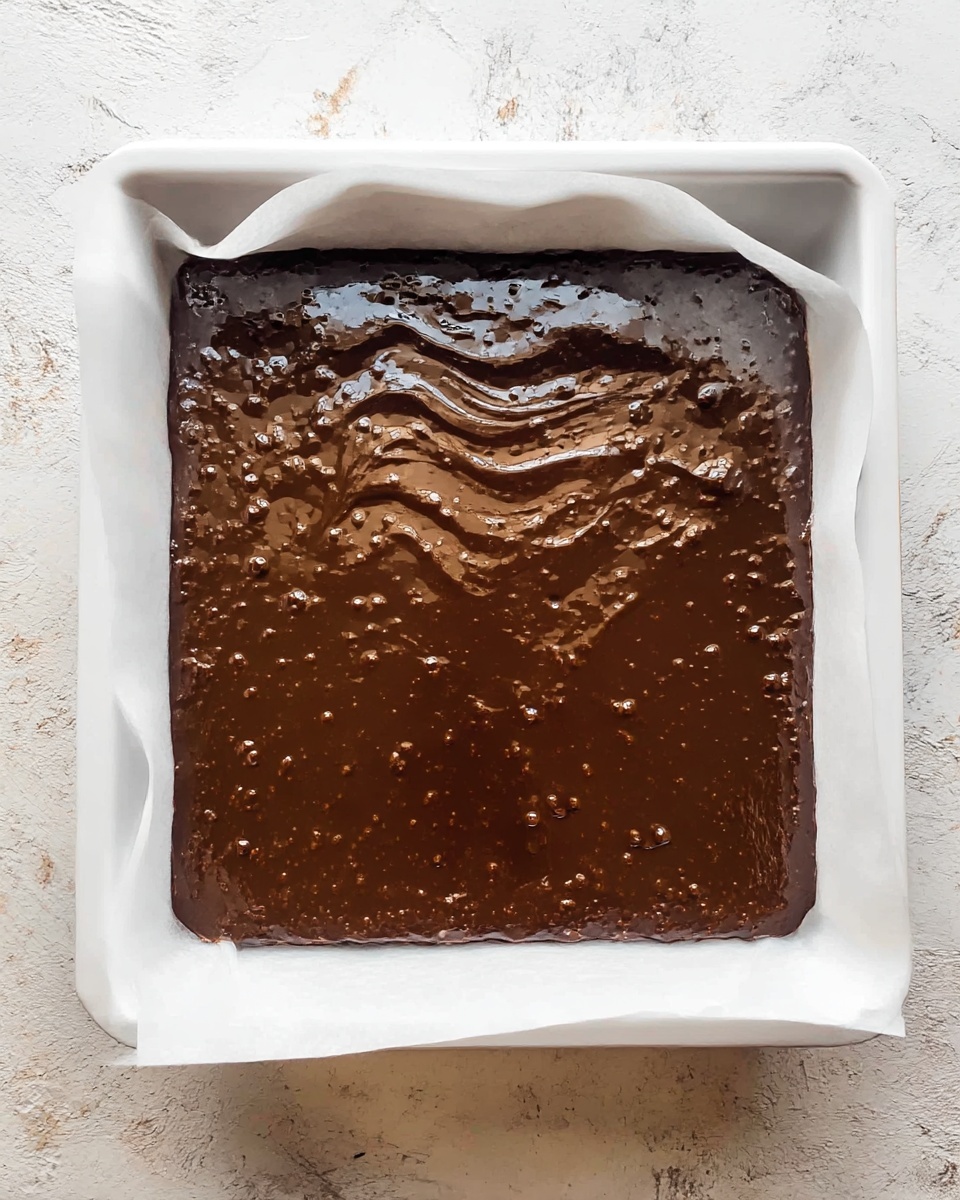
Step 5: Pour the batter evenly into your prepared pan, spreading it all the way to the edges for uniform thickness. Place in the oven and bake for about 20 minutes, or until the center is just set but still soft to the touch.
Step 6: Once baked, allow the brownies to cool completely in the pan. This step is important because the brownies need to firm up before slicing and decorating.
Step 7: While waiting, prepare the royal icing by beating the egg white in a large bowl with an electric mixer until frothy. Gradually add the sifted confectioners’ sugar, one tablespoon at a time, mixing well to create a thick but pipeable icing. Stir in the lemon juice and adjust with a little more juice to thin it or powdered sugar to thicken it.
Step 8: Using the decorating gel, draw adorable snowman faces on each marshmallow, adding black eyes and mouth, and an orange carrot nose. Get creative and make each one unique!
Step 9: Once the brownies have cooled and been sliced into squares, drizzle them generously with the royal icing to create the melted snow effect. Top each brownie with one of your decorated marshmallows, pressing gently so it sticks but doesn’t squish.
Servings and Timing
This Melted Snowman Brownies Recipe yields about 16 delicious servings, perfect for sharing at parties or family gatherings. You’ll spend roughly 10 minutes preparing the batter and decorations, followed by 20 minutes of baking. Cooling and decorating will add about 20 more minutes to the process, making your total time around 50 minutes. Allowing the brownies to cool properly is key for that perfect bake, so don’t rush!
How to Serve This Melted Snowman Brownies Recipe
When I serve these brownies, I love setting them out on a festive platter or individual plates, making sure each one has its charming marshmallow snowman perched on top. They look fantastic when garnished with a sprinkle of powdered sugar or a tiny dusting of edible glitter for extra sparkle. The royal icing drizzles act like melting snow, making every bite feel like a winter wonderland treat.
For me, these brownies are perfect at holiday parties, after a cozy meal, or even as a sweet surprise during a snowy afternoon hot chocolate gathering. I often pair them with a glass of cold milk or a mug of warm coffee or tea to balance the sweetness. If you want to get a bit fancy, a rich dessert wine like port or a spiced holiday cocktail complements the chocolate beautifully and elevates the entire experience.
Serving these brownies at room temperature lets the flavors shine best, but if you prefer a soft, gooey texture, a quick 10-second zap in the microwave warms the marshmallows delightfully without melting everything away. I usually cut them into fairly small squares because they’re rich and satisfying, making them ideal as a treat to savor without feeling too indulgent all at once.
Variations
I love that you can customize this Melted Snowman Brownies Recipe in lots of fun ways to suit different tastes and dietary needs. If you want to add a bit more texture, mixing in chopped nuts like pecans or walnuts into the batter adds a lovely crunch. For those who prefer a fruitier touch, a swirl of raspberry jam or a handful of dried cherries can add a tart burst that pairs beautifully with chocolate.
For gluten-free friends, swapping the all-purpose flour with a gluten-free baking mix works really well here without compromising taste or texture. Vegan adaptations are possible too by replacing the butter with coconut oil or vegan margarine, using flax eggs instead of real eggs, and choosing vegan marshmallows and powdered sugar. The royal icing can be swapped for a simple glaze made from powdered sugar and lemon juice to keep it plant-based.
If you want to mix up the flavor profile, consider using peppermint extract instead of vanilla for a cool winter accent, or mix in a tablespoon of espresso powder to deepen the chocolate notes. You can also try baking the brownies in muffin tins to create individual treats or use a larger pan and slice into bars for easy sharing.
Storage and Reheating
Storing Leftovers
Once your Melted Snowman Brownies are completely cooled and decorated, I recommend storing any leftovers in an airtight container at room temperature. They keep beautifully for about 3 to 4 days. If your kitchen is warm, placing them in a cool, dry spot is best to prevent the marshmallow toppers and royal icing from becoming too sticky or melting.
Freezing
If you want to save some for later, these brownies freeze quite well before you add the marshmallow decorations. Wrap them tightly in plastic wrap and then place them in a freezer-safe container or resealable bag. They’ll keep for up to 2-3 months. When you’re ready to enjoy, thaw them overnight in the fridge, then decorate with marshmallows and royal icing just before serving for the freshest look.
Reheating
To bring your brownies back to life, especially if they’ve been refrigerated, a short 10 to 15-second burst in the microwave works wonderfully to soften the chocolate and warm the marshmallows slightly. I avoid longer reheating to prevent the royal icing from melting away or the brownies from drying out. If you want to warm a whole batch, a low oven (around 300°F/150°C) for a few minutes under foil is a gentle alternative that keeps textures intact.
FAQs
Can I use regular icing instead of royal icing for decorating?
Yes, you can substitute royal icing with a simple powdered sugar glaze made with powdered sugar and a bit of lemon juice or milk. However, royal icing hardens well and creates that signature “melting snow” effect, which is ideal for this recipe.
What type of marshmallows work best for the snowman decorations?
I find plain white, regular-sized cylindrical marshmallows to be perfect for decorating. They are easy to handle, hold their shape well, and are just the right size to top on each brownie square.
Can I prepare the brownies in advance?
Absolutely! You can bake and slice the brownies a day ahead. Decorate with the marshmallow snowmen and royal icing just before serving to keep them looking their best and fresh.
Is it possible to make these brownies nut-free?
This recipe is naturally nut-free unless you choose to add nuts for extra texture. Just make sure to check all your ingredients for cross-contamination if you have nut allergies.
How do I avoid overbaking the brownies?
Keep an eye on them towards the 18-20 minute mark and test with a toothpick; it should come out with a few moist crumbs but not wet batter. Overbaking makes brownies dry and cakey rather than fudgy and soft.
Conclusion
If you want to bring a touch of whimsy and rich chocolate goodness to your dessert table, I can’t recommend this Melted Snowman Brownies Recipe enough. It’s easy, festive, and loaded with flavor that delights both kids and adults. I promise once you try it, these brownies will become a much-loved tradition in your home, just as they are in mine. So go ahead, grab your ingredients, and get ready to bake some melting snowman magic!
PrintMelted Snowman Brownies Recipe
Melted Snowman Brownies are a fun and festive treat featuring rich, chewy chocolate brownies topped with royal icing-decorated marshmallows to resemble adorable melted snowmen. Perfect for holiday gatherings or winter celebrations, these brownies combine classic chocolatey goodness with playful presentation for a delightful dessert experience.
- Prep Time: 10 minutes
- Cook Time: 20 minutes
- Total Time: 50 minutes
- Yield: 16 servings
- Category: Dessert
- Method: Baking
- Cuisine: American
Ingredients
Brownies
- ½ cup (115g) melted butter
- ¾ cup (150g) sugar
- 1 teaspoon vanilla extract
- 2 large eggs
- ½ cup (50g) unsweetened cocoa powder
- ½ cup (65g) all-purpose flour (plain flour)
Royal Icing
- 1 egg white
- 1 ½ cups (170g) confectioners' sugar, sifted (or more as needed)
- 1 teaspoon lemon juice (or as needed)
Decorations
- 16 marshmallows
- Black and orange decorating gel/writing icing
Instructions
- Prep: Preheat the oven to 350°F (175°C). Lightly grease an 8x8-inch square pan with spray oil or butter, or line it with baking parchment paper for easy removal.
- Mix Butter, Sugar, and Vanilla: In a medium bowl, whisk together the melted butter, sugar, and vanilla extract until well combined and smooth.
- Add Eggs: Whisk in the eggs one at a time, ensuring each egg is fully incorporated before adding the next for a smooth batter.
- Add Dry Ingredients: Sift the unsweetened cocoa powder and all-purpose flour into the wet mixture. Gently fold the ingredients together until just combined, taking care not to overmix to keep the brownies chewy and soft.
- Bake: Pour the batter evenly into the prepared pan and spread to the edges. Bake in the preheated oven for 20 minutes or until the center is nearly set but still slightly gooey. Avoid overbaking to maintain a chewy texture.
- Cool and Cut: Remove the brownies from the oven and allow them to cool completely in the pan. Once cooled, remove from the pan and cut into 16 squares.
- Prepare Royal Icing: Using an electric mixer, beat the egg white lightly in a large bowl until frothy. Gradually add the sifted confectioners' sugar, a tablespoon at a time, continuing to beat until the icing can hold its shape. Mix in the lemon juice and adjust the consistency by adding a bit more lemon juice to thin, or more sugar to thicken as needed.
- Decorate Marshmallows: Use black and orange decorating gel or writing icing to create snowman faces on each marshmallow, adding eyes, a mouth, and a carrot-like nose.
- Assemble Brownies: Once the brownies are completely cooled, drizzle them with the prepared royal icing. Top each brownie square with a decorated marshmallow to resemble a melted snowman.
Notes
- Do not overbake the brownies; a slightly underbaked center ensures a chewy and soft texture rather than a cake-like crumb.
- When mixing in the cocoa powder and flour, gently fold to avoid overmixing and maintain the perfect brownie texture.
- For food safety, use fresh eggs when making royal icing since it contains raw egg whites.
- You can adjust the royal icing consistency with lemon juice or powdered sugar to suit your decorating preferences.
- Use gel-based decorating icing for clearer and more vibrant snowman face details on marshmallows.
- Make sure the brownies are completely cooled before decorating to prevent the marshmallows and icing from melting or sliding.


Leave a Reply