
I am so excited to share my Quick & Easy Sweet Chili Chicken Recipe with you because it’s one of those dishes that strikes the perfect balance between bold flavors and simple preparation. I love how the crispy, golden chicken bites coated in a sticky, sweet, and mildly spicy chili sauce come together in just about 30 minutes. This recipe always feels like a little celebration on a plate, whether I’m cooking for myself, family, or friends, and I know you’ll find it just as irresistible.
Why You'll Love This Quick & Easy Sweet Chili Chicken Recipe
From my first bite, I was hooked by the vibrant combination of sweetness, tang, and gentle heat that makes this dish so delicious. The sweet chili sauce is perfectly balanced with a hint of lime and honey, while the sriracha adds a little kick if you want it. Each bite has that wonderful crispy exterior from frying the cornstarch-coated chicken pieces, which contrasts beautifully with the glossy sauce. It's like every flavor and texture comes alive together, making this quick dish feel truly special.
What I appreciate most about this Quick & Easy Sweet Chili Chicken Recipe is how straightforward it is to prepare. You don’t need to be a kitchen pro or have a long ingredient list to pull it off—everything comes together in under half an hour. It’s my go-to recipe for busy weeknights when I want something satisfying but can’t spend hours cooking. Plus, it’s such a crowd-pleaser that I feel comfortable serving it at casual family dinners or even small get-togethers. It just stands out because it’s effortless but packed full of flavor and texture.
Ingredients You'll Need
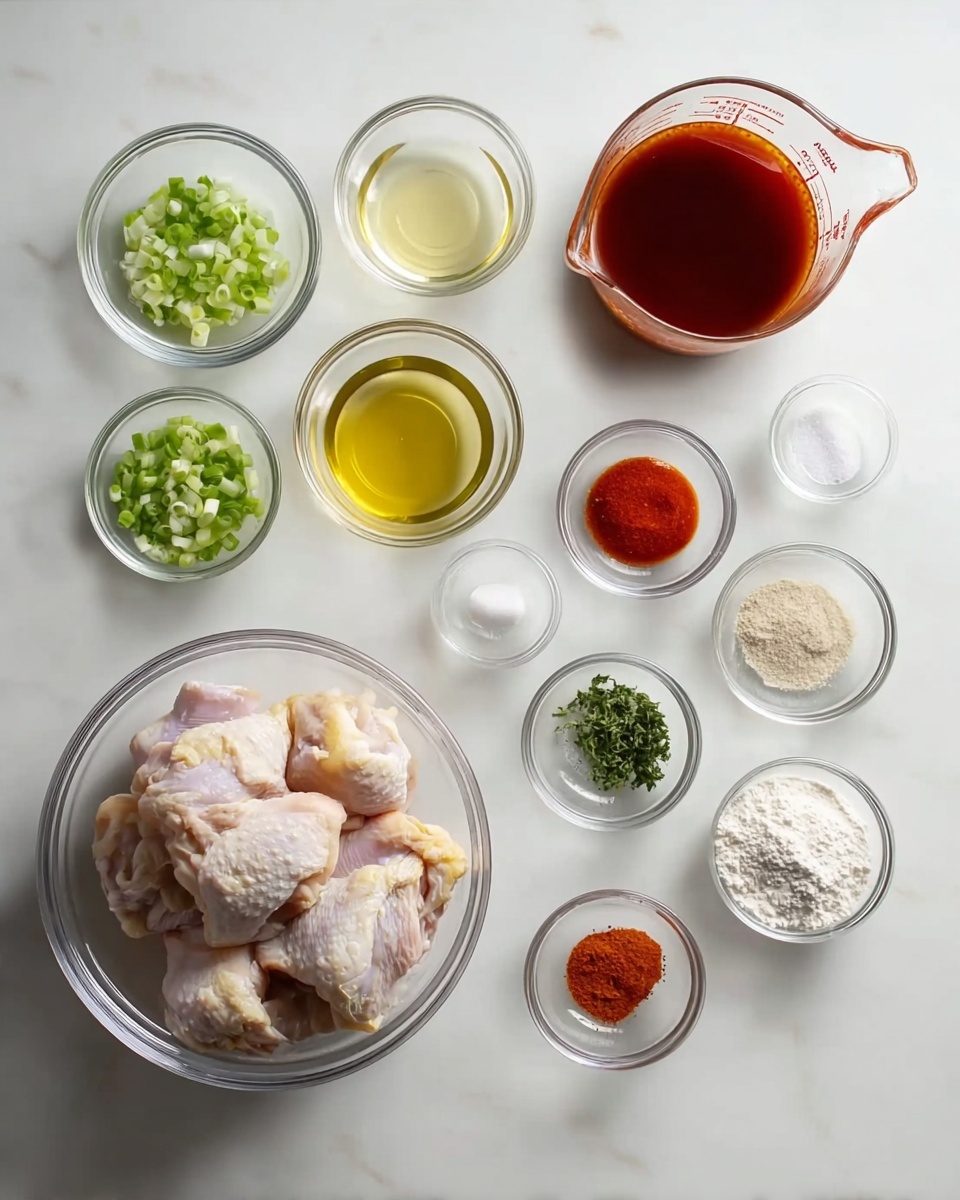
I’ve kept the ingredients simple and easy-to-find because that’s part of what makes this recipe so accessible. Each ingredient plays a role, from creating that crispy coating on the chicken to building the sauce’s delightful sweet and tangy notes. Fresh lime juice and zest add a bright, citrusy punch, while the cornstarch helps achieve that golden crunch that I love.
- Chicken thighs: I prefer skinless, boneless thighs for juiciness, but breast works fine too.
- Cornstarch: This is key for that crispy coating on the chicken after frying.
- Vegetable oil: Any neutral oil works great for frying the chicken evenly.
- Salt, garlic powder, black pepper: Basic seasonings that build the savory foundation.
- Sweet chili sauce: The star of the glaze, bringing sweetness and mild heat.
- Sriracha: Optional, but it adds a fantastic spicy depth if you love heat.
- Honey: Adds natural sweetness and a lovely syrupy texture.
- Rice vinegar: A nice acidic balance that brightens the sauce.
- Lime juice & zest: Freshly squeezed for zesty brightness and complexity.
- Green onion: Finely chopped for a fresh garnish to finish the dish.
Directions
Step 1: In a small bowl, I whisk together the sweet chili sauce, sriracha (if using), honey, rice vinegar, lime juice, and lime zest to create the flavorful sauce. Setting this aside means it’s ready just when the chicken finishes cooking.
Step 2: Next, I dice the chicken thighs into bite-sized pieces about 1.5 inches each. This size allows them to crisp up nicely and makes the dish easy to eat. I place the cubes into a large mixing bowl for seasoning.
Step 3: I sprinkle salt, garlic powder, and black pepper over the chicken, then add the cornstarch. Tossing everything together well ensures each piece is fully coated with no dry spots. If the coating seems thin, I add a little more cornstarch for extra crunch.
Step 4: I heat the vegetable oil in my favorite heavy-bottomed pan or wok over medium heat. To keep the chicken crispy, I fry the pieces in small batches, about 6-7 minutes total for each batch, turning halfway so they brown evenly on all sides.
Step 5: Once golden and crispy, I remove the chicken onto a wire rack or paper towels to drain any excess oil. This step keeps the texture light and prevents sogginess when adding the sauce.
Step 6: Finally, I transfer the chicken to a large bowl, pour the sauce over top, and gently toss everything together so each crispy piece is coated in that irresistible glaze. A sprinkle of chopped green onions on top finishes it perfectly. Then, I serve it immediately to enjoy the contrast of hot, crispy chicken and sticky sauce.
Servings and Timing
This recipe makes about 3 hearty servings, which is perfect for a small family dinner or meal prepping lunches for a couple of days. Prep time takes roughly 10 minutes, mostly for dicing the chicken and mixing the sauce. Cooking the chicken in batches takes about 15–20 minutes, so the total time is around 30 minutes. There’s no resting time needed, so you can dig in right away while the chicken is still hot and crispy.
How to Serve This Quick & Easy Sweet Chili Chicken Recipe
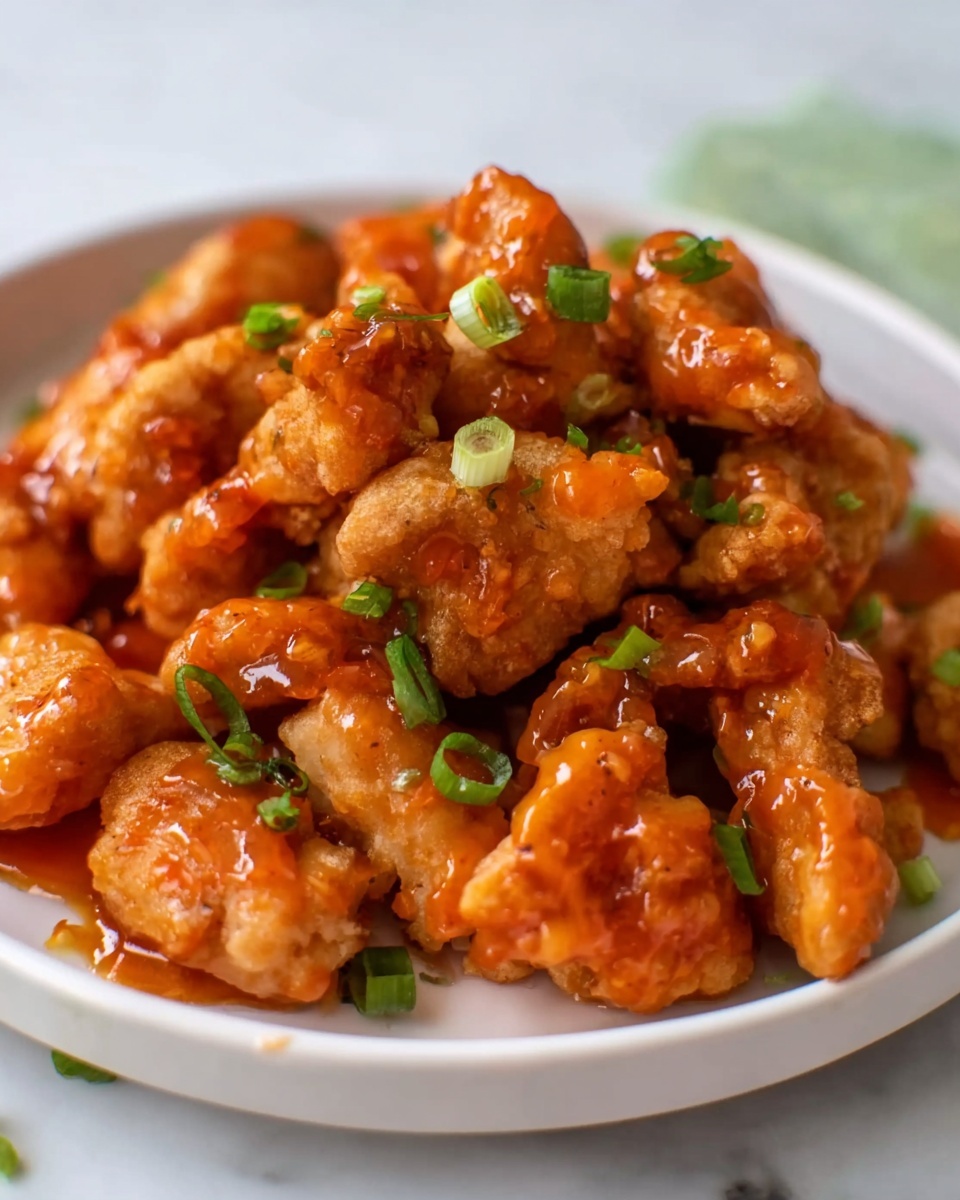
When I serve this Quick & Easy Sweet Chili Chicken Recipe, I like to make it the centerpiece of a satisfying meal. It pairs beautifully with steamed jasmine rice or fluffy quinoa to soak up all the sauce. For something lighter and crunchy, I also love a crisp cucumber salad or some sautéed snap peas alongside—it adds a refreshing counterpoint to the richness of the chicken.
To make the plating pop, I always scatter finely chopped green onions or fresh cilantro over the chicken. If I’m feeling fancy, a few toasted sesame seeds add a lovely nutty crunch and look so inviting. I usually serve this dish warm, straight from the pan, but it’s still delicious at room temperature if you’re packing lunches or serving it at a buffet.
For drinks, I like pairing this dish with a crisp, chilled white wine like a Sauvignon Blanc or a slightly sweet Riesling to balance the spicy-sweet sauce. If you prefer cocktails, a ginger-lime mojito echoes the dish’s citrusy kick wonderfully. For non-alcoholic options, sparkling water with a wedge of lime or iced green tea refreshes the palate beautifully.
Variations
I love how flexible this Quick & Easy Sweet Chili Chicken Recipe is. A simple swap I often make is using chicken breasts instead of thighs if I want a leaner option, though thighs tend to stay juicier. For a gluten-free version, I switch the cornstarch to potato starch and confirm my sweet chili sauce is gluten-free—makes it just as delicious and safe for sensitive diets.
If you want to keep things plant-based, I’ve experimented substituting the chicken for crispy tofu cubes. Press the tofu to remove moisture, dust with cornstarch, and pan-fry until golden before tossing in the sauce. The texture is wonderfully crisp outside but tender inside, and the sauce works beautifully here too.
For different flavors, I sometimes add minced fresh ginger to the sauce for extra zing, or a splash of soy sauce for that umami punch. If spice is your thing, I mix in extra sriracha or sprinkle some chili flakes over the finished dish. Alternatively, you could bake or air-fry the chicken pieces if you want to skip frying—just cook until crispy and golden and then toss with the sauce for an easier cleanup.
Storage and Reheating
Storing Leftovers
When I have leftovers, I store them in an airtight container in the refrigerator. This recipe keeps well for up to 3 days, maintaining good flavor and texture if eaten promptly. I recommend placing the chicken and sauce together so the flavors meld, but if you prefer extra crispiness, you can store them separately and combine before reheating.
Freezing
You can freeze this sweet chili chicken, but I find the texture changes slightly after thawing due to the sauce. To freeze properly, I let the chicken cool completely, then transfer it to a freeze-safe container or ziplock bag, removing as much air as possible. It freezes well for up to 2 months. When ready, thaw overnight in the refrigerator before reheating.
Reheating
To reheat leftovers, I like to gently warm the chicken in a non-stick skillet over medium heat, which helps restore some of the crispiness. You can add a tiny splash of water and cover briefly if it seems dry, then uncover towards the end to let excess moisture evaporate. Avoid microwaving if you can, as it makes the coating soggy and the sauce clumpy, which takes away from the original texture and flavor.
FAQs
Can I use chicken breast instead of thighs?
Absolutely! Chicken breasts work fine; just be careful not to overcook as they’re leaner and can dry out faster than thighs. I suggest cutting them into uniform pieces for even cooking and watching them closely while frying.
Is this recipe spicy?
The base recipe is mildly spicy due to the sweet chili sauce, which balances sweetness and heat gently. If you want more heat, adding sriracha or chili flakes amps up the spice to your liking. You can always leave out spicy ingredients for a kid-friendly version.
Can I bake or air fry the chicken instead of frying?
Yes! For a healthier or less oily option, I often air fry the coated chicken pieces at 400°F for about 15 minutes, shaking halfway through. Baking is also possible on a greased tray at 425°F for about 20 minutes until crispy and cooked through.
What can I serve with this chicken?
It’s delicious with plain steamed rice, fried rice, or noodles. I like pairing it with fresh, crunchy salads or stir-fried vegetables for a balanced meal. Pickled veggies or kimchi also add a fantastic tangy contrast to the sweet chili flavor.
Can I make the sauce ahead of time?
Definitely! The sauce stores well in the fridge for several days, and making it ahead actually allows the flavors to deepen. Just give it a quick stir before tossing with the chicken, and you’re good to go.
Conclusion
If you want a dish that’s bursting with flavor, quick to make, and always a hit at the table, I truly encourage you to try this Quick & Easy Sweet Chili Chicken Recipe. It has become one of my absolute favorites for both weeknights and casual entertaining. Once you make it, I’m confident it will become a staple in your cooking rotation too!
PrintQuick & Easy Sweet Chili Chicken Recipe

This Quick & Easy Sweet Chili Chicken recipe features crispy, golden-brown chicken pieces coated in a flavorful homemade sweet chili sauce. Ready in just 30 minutes, it's perfect for a speedy weeknight dinner or a satisfying snack, offering a delicious balance of sweet, tangy, and spicy flavors.
- Prep Time: 10 minutes
- Cook Time: 15 minutes
- Total Time: 25 minutes
- Yield: 3 servings
- Category: Main Dish
- Method: Frying
- Cuisine: Asian
Ingredients
Chicken and Coating
- 1 lb skinless boneless chicken thighs (or chicken breast)
- ⅓ cup cornstarch (or potato starch, add more if needed)
- ½ teaspoon salt
- ½ teaspoon garlic powder
- ¼ teaspoon black pepper
- ⅓ cup vegetable oil (or any neutral oil)
Sauce
- ½ cup sweet chili sauce
- 1 tablespoon sriracha (optional)
- 1 tablespoon honey (plain kind)
- 1 tablespoon rice vinegar (or apple cider vinegar / white vinegar)
- 1 teaspoon lime juice (or lemon juice, freshly squeezed)
- ½ teaspoon lime zest (or lemon zest, freshly grated)
Garnish
- 1 green onion (finely chopped, optional)
Instructions
- Prepare the sauce: In a small bowl, combine the sweet chili sauce, sriracha (if using), honey, rice vinegar, lime juice, and lime zest. Stir well and set aside to allow the flavors to meld.
- Cut the chicken: Dice each chicken thigh into approximately 1.5-inch pieces and place them in a large mixing bowl for seasoning.
- Season and coat the chicken: Sprinkle salt, garlic powder, and black pepper over the chicken pieces. Add the cornstarch and toss thoroughly to ensure each piece is evenly coated with no uncovered spots. Add more cornstarch if necessary for full coverage.
- Heat oil and fry chicken: Heat the vegetable oil in a large heavy-bottomed pan or wok over medium heat. Fry the coated chicken pieces in small batches, cooking until they are golden brown and crispy, about 6 to 7 minutes total per batch, turning halfway through for even browning.
- Drain excess oil: Remove the fried chicken from the pan and place on a wire rack or paper towels to drain any excess oil and keep the crust crisp.
- Toss chicken with sauce and garnish: Transfer the cooked chicken to a large bowl. Pour the prepared sauce over the chicken and gently toss to coat each piece well. Garnish with finely chopped green onions if desired. Serve immediately and enjoy!
Notes
- For an air fryer version, preheat the air fryer to 400°F (200°C). Place coated chicken pieces in a single layer in the basket and air fry for 12-15 minutes, shaking halfway through, until golden and cooked through.
- You can use chicken breast instead of thighs, but thighs tend to be juicier and more flavorful.
- Adjust the amount of sriracha based on your heat preference or omit it for a milder sauce.
- Adding lime zest enhances the brightness of the sauce, but lemon zest can be substituted.
- Make sure not to overcrowd the pan while frying to maintain crispiness.



Leave a Reply